How to Install Shaders for Minecraft 1.21+
If you prefer to watch a video on how to do this, click here.
Installing the Mods
To start off with, we are going to need to make sure that we have the Fabric Loader, and Sodium Mod installed for our Minecraft Client. If you are unsure of how to do this, please see this post.
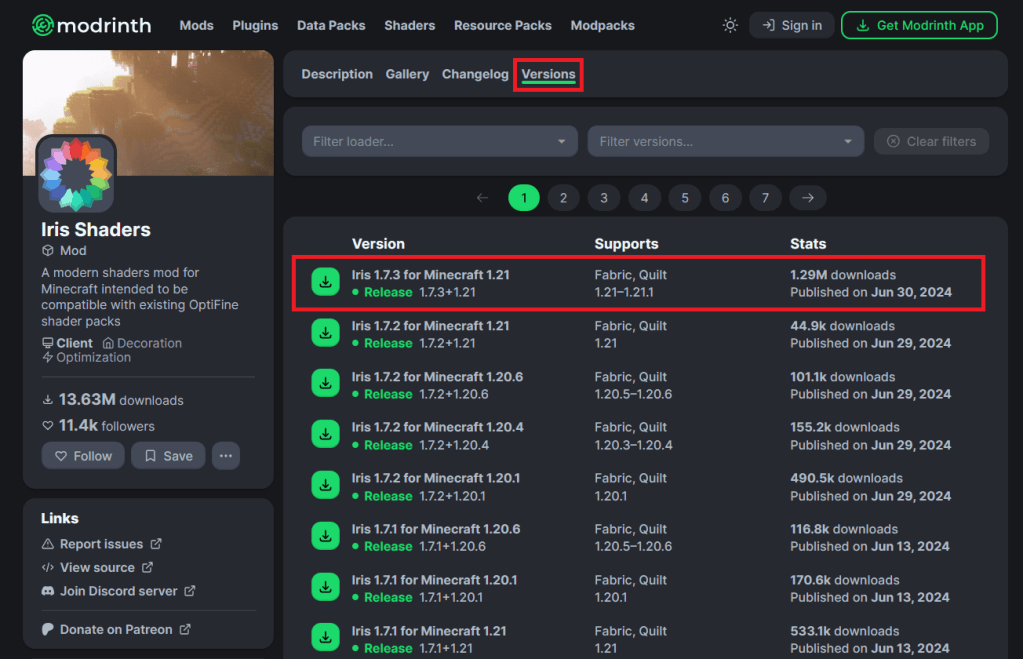
Once you have the Fabric Loader installed, head over to Modrinth and download Iris Shaders. This mod will be what allows us to install Shaders to our Minecraft Client. Go to Versions, then select the relevant version for your Minecraft Install.
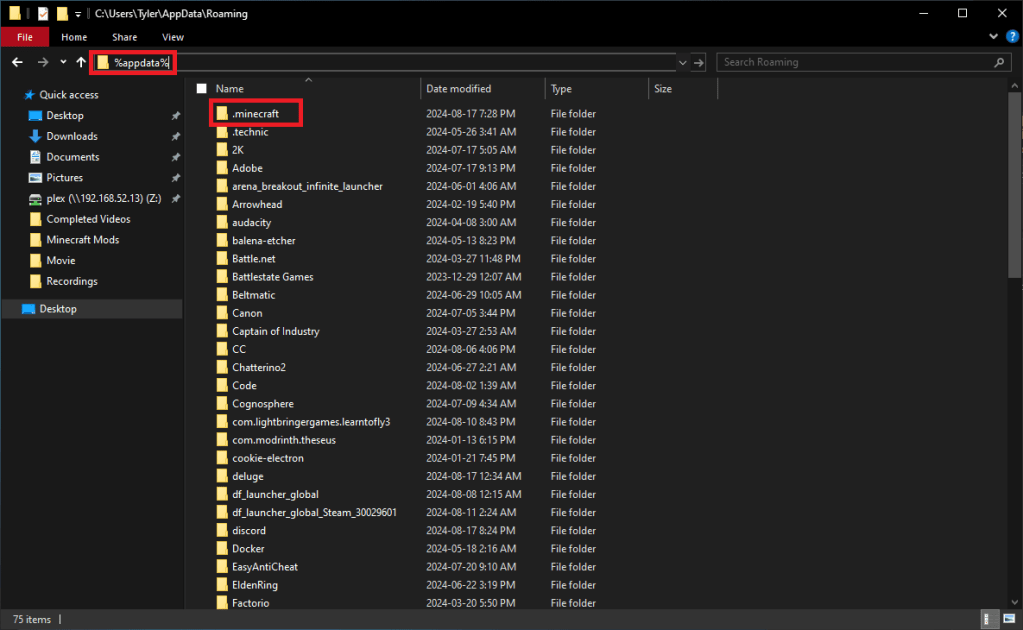
Once Iris Shaders is downloaded, go to your Downloads folder and press CTRL + x on the Iris Shaders Java file. Then in File Explorer, go to %appdata% and click .minecraft.
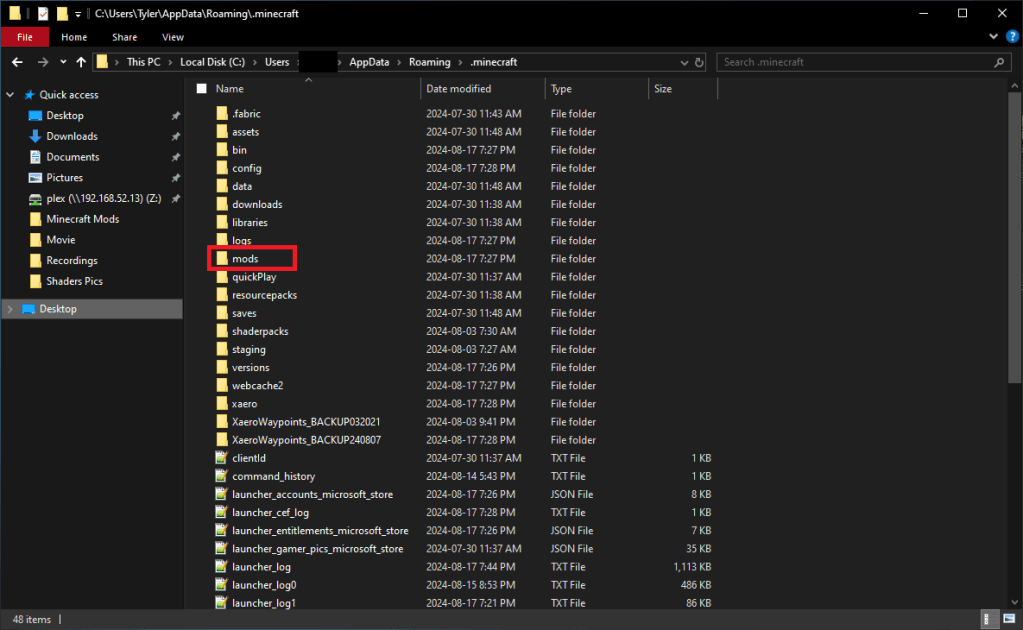
Open your mods folder and press CTRL + v to paste the Iris Shader into the mods folder.
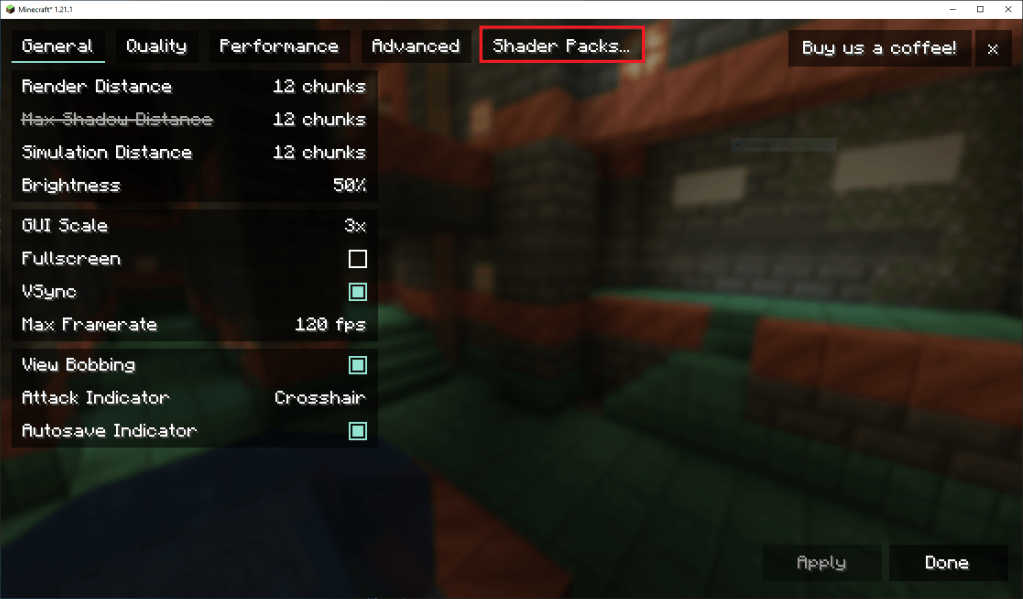
Launch Minecraft once to verify that you are able to see the Shaders list, by going to Options, Video Settings, then Shaders Packs at the top of your screen.
For now we can leave the Shader Pack menu open and minimize Minecraft as we will need to use this Shader Pack menu later.
The next step is going to be to download a Shader. I will also be using Modrinth for this. Click the Shaders button at the top of the Modrinth page.
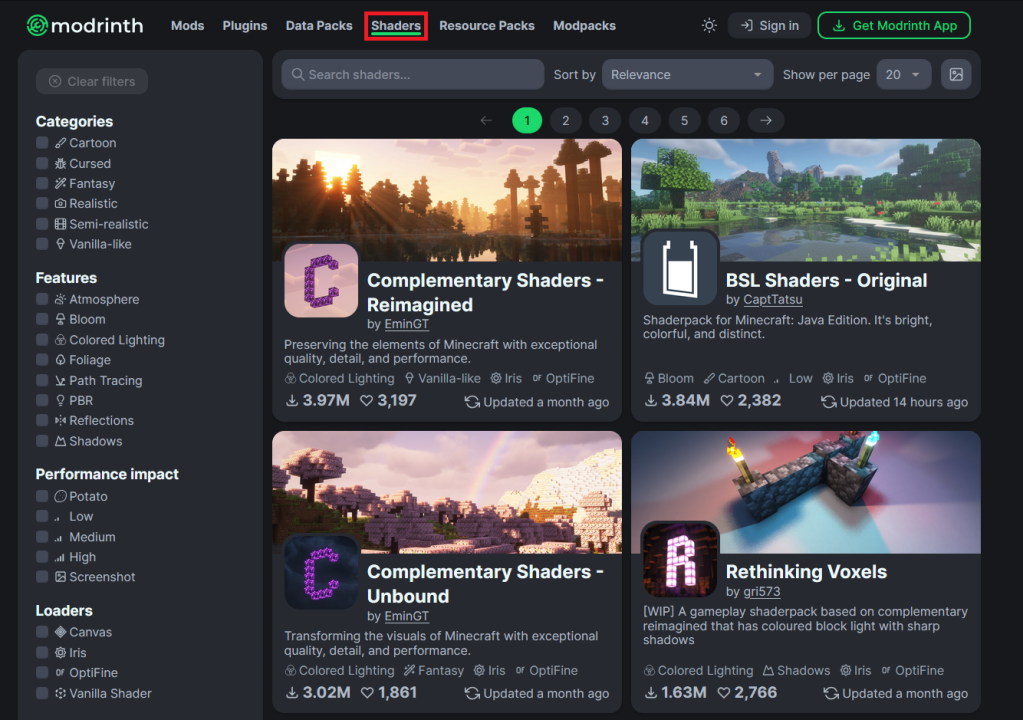
Now find a Shader in the list of Shaders available. The Shader I will be using is called Complementary Shaders – Reimagined, but you can use which-ever Shader you find appealing from the thumbnails on this Shaders page.
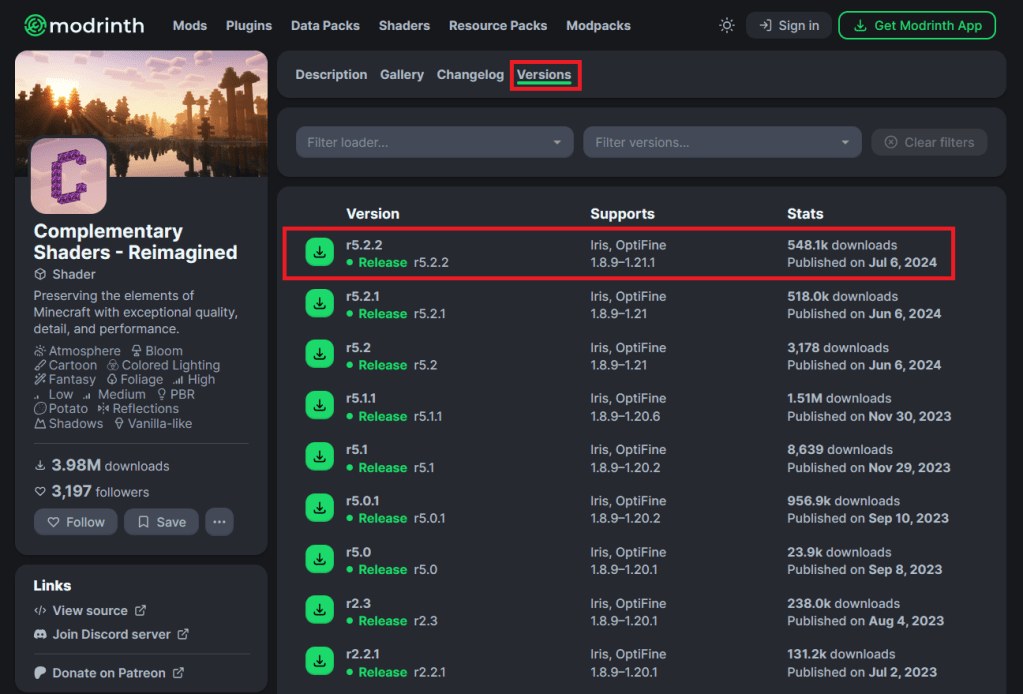
When you find a Shader you like, click on the Shader and go to Versions and download the version of the Shader Pack that is relevant to you version of Minecraft.
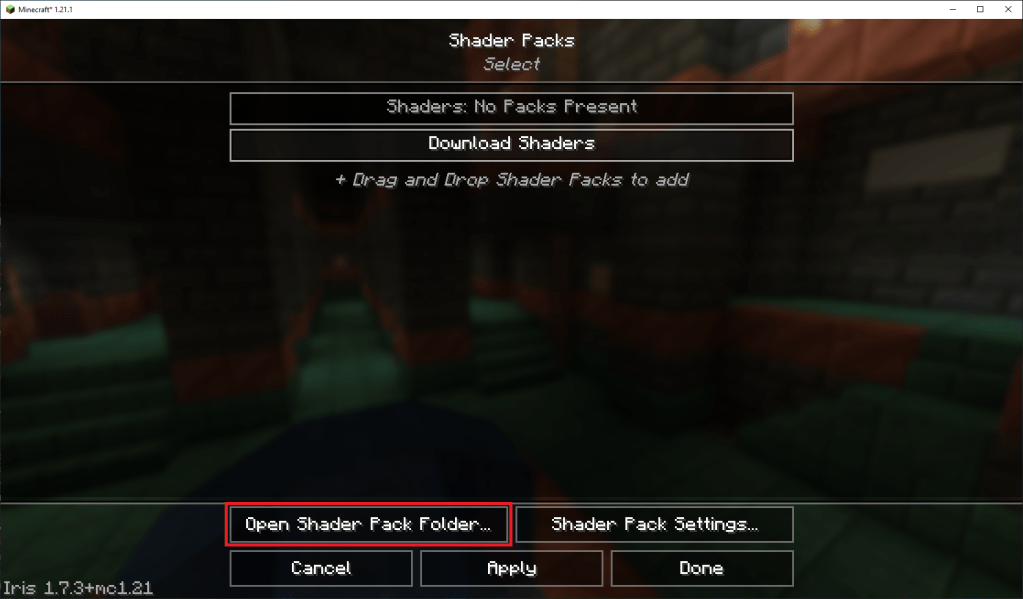
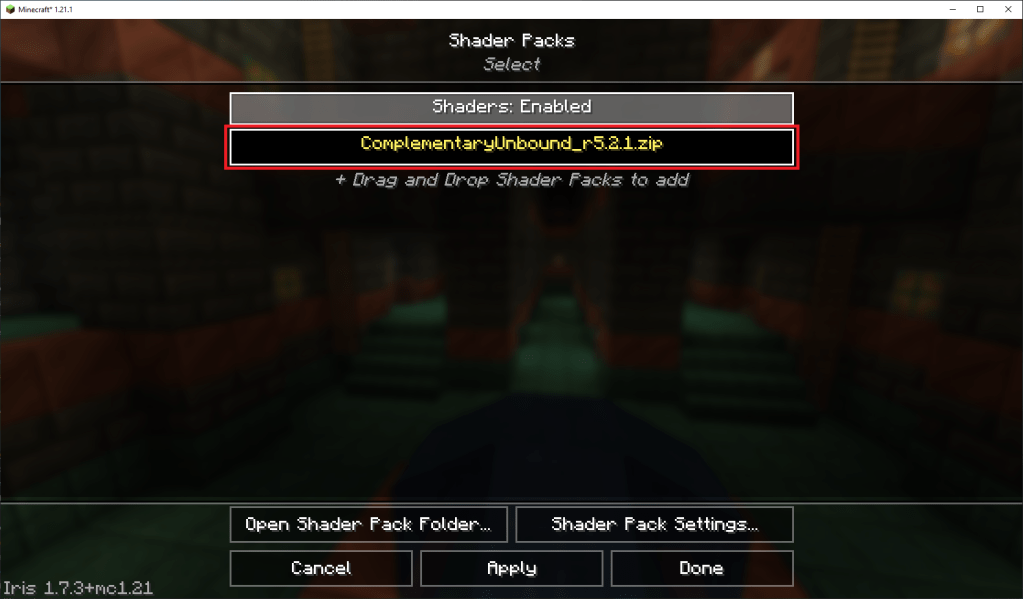
Now that the Shader is downloaded, go back to Minecraft and in the Shaders menu, select Open Shader Pack Folder. This will open the .minecraft folder where you will be automatically sent to the Shader Pack Folder.
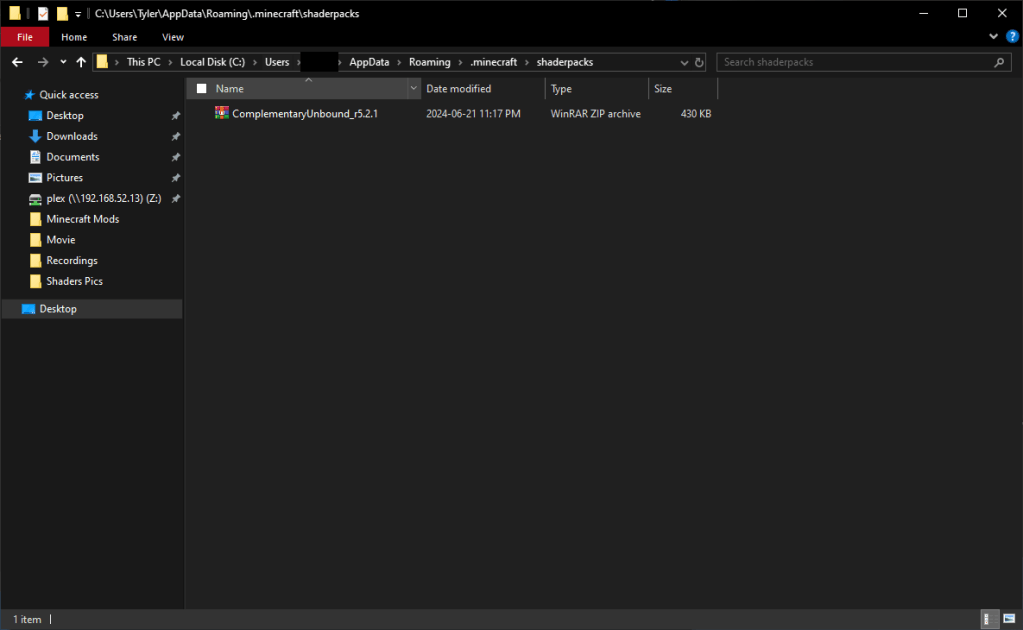
Now go to your Downloads folder and press CTRL + x to cut the Shader you downloaded, then go back to the Shader Pack folder and press CTRL + v to paste the Shader in the folder.
Next go back to your Minecraft instance, and select the Shader you just copied into the Shader Pack Folder. Click Apply after selecting the Shader from the menu.
The game may freeze for a few moments while it loads the Shader.
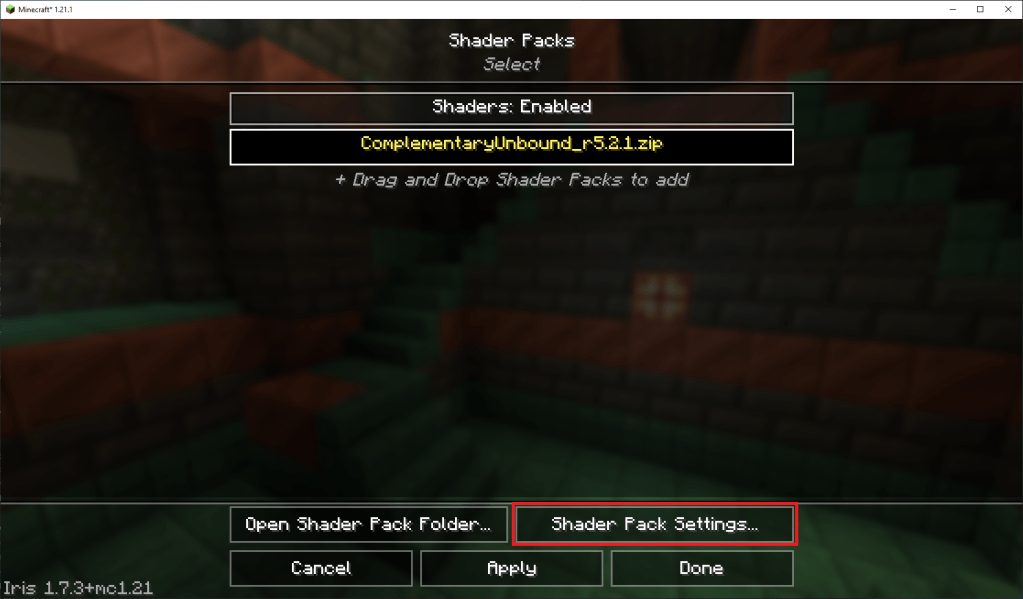
Launch into a Single player or Multiplayer world and see what the Shader looks like. If the Shader is not to your liking, you can try changing the Shader settings from within the Shader Pack menu under Shader Pack Settings.
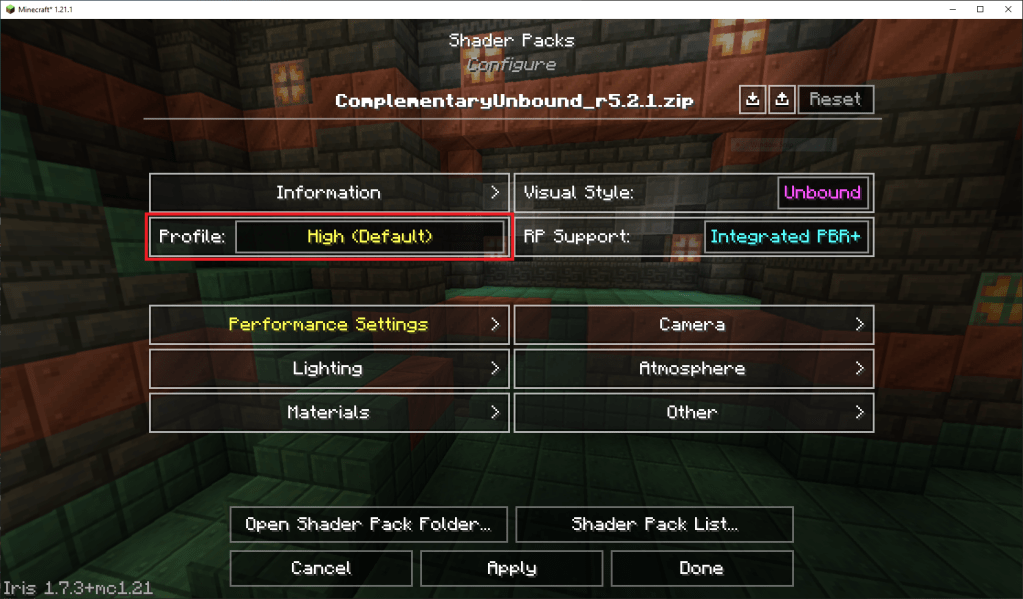
I will leave the changing of settings up to you, as you will know what you think your Minecraft will look the best as. I personally just leave the settings as Default on the High preset.
If you start having Performance Issues with Minecraft and already have Sodium, Lithium and/or other Performance mods installed, try turning down your Shader settings to something like Low or Medium.
If you have any questions, feel free to ask!
